Code-Forges like GitLab#
A code forge is a place where teams can work on their projects together. It is usually a combination of a Code repository (Git), a way to view those files in a browser, a bugtracker/issue tracker and a wiki. Most code forges integrate further functionality that makes building and releasing software easier to some extent.
Gitlab#
Gitlab is one such example, and we're hosting our own server that you will be using for this course. You can reach it at https://code.fbi.h-da.de and as a student of Hochschule Darmstadt, you already have an account there.
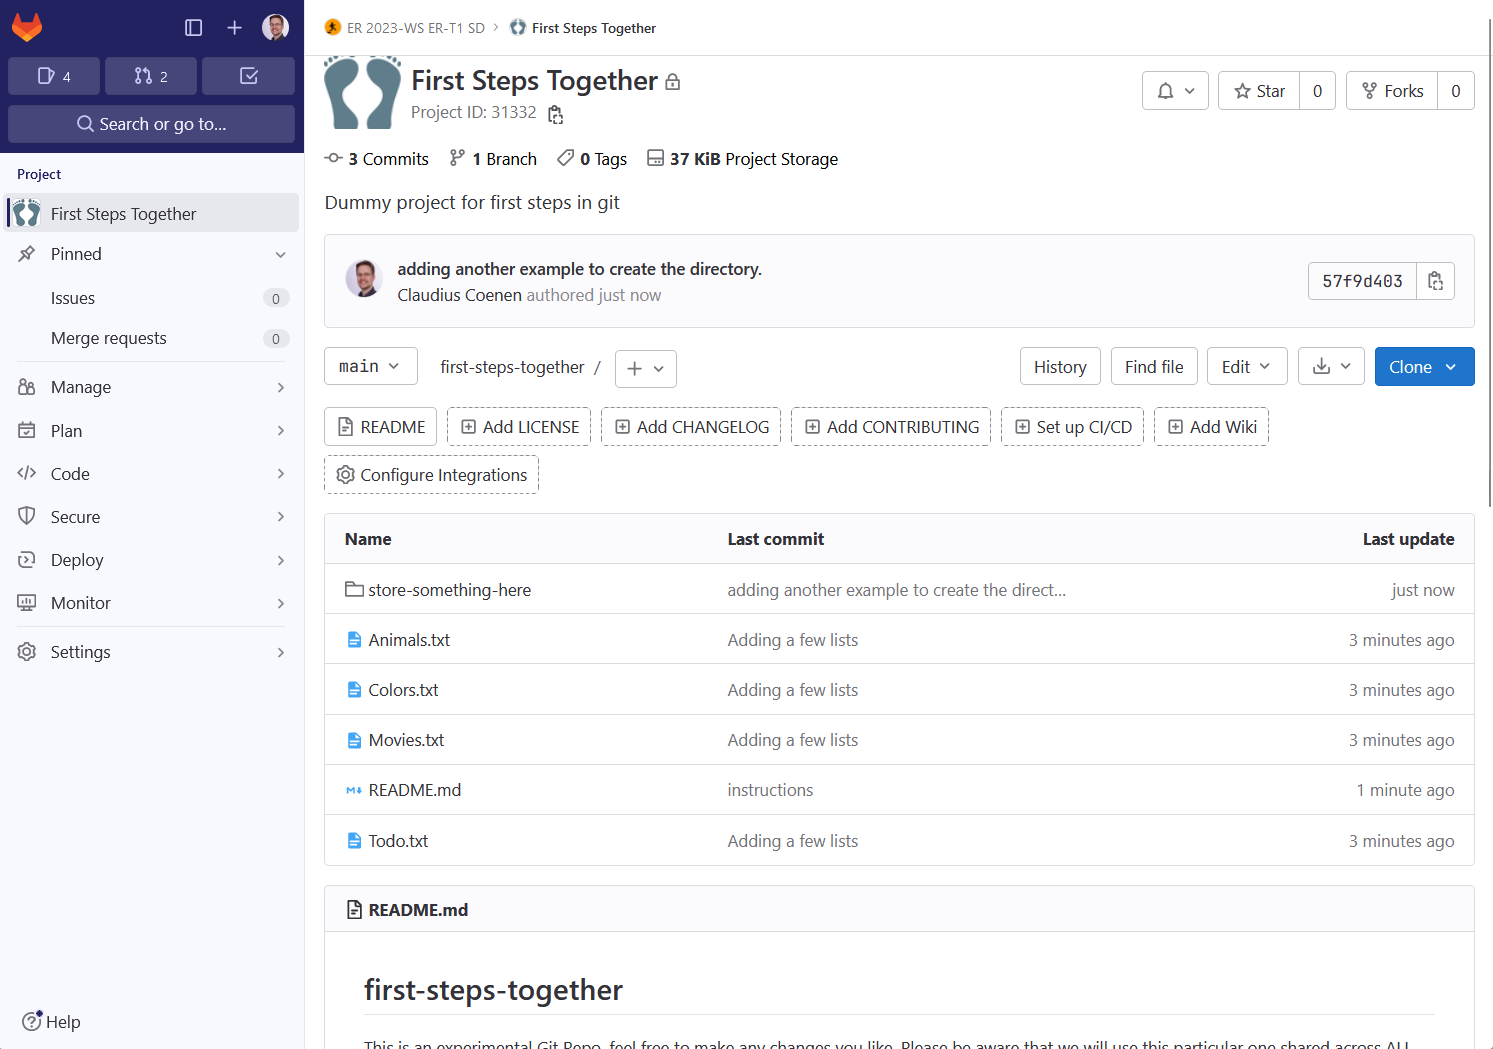
On this screenshot you see a typical view of a project in your browser. The menu at the left offers some of the functions described earlier. We also see what the project is called, who modified it most recently, what files it contains and at the bottom edge you can see the beginning of its README file.
Cloning a Repository to Your Machine#
Step 1: Get the URL#
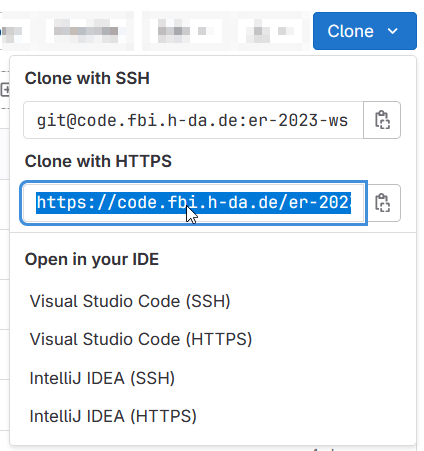
Once you have access to a project, it is pretty common to clone the repository to your own machine. For this you need the URL of the repository for your local Git software. In our setup, you would normally use the Clone-Button and choose the HTTPS-URL. Just copy it to your clipboard.
If you know SSH, you can use that, of course!
We're not going into the difference between SSH and HTTPS in this course. If you already have a keypair and know how to use it with git, please feel free to use that instead.
Step 2: Put the URL into your git client#
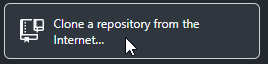
Your git software will have some button to clone a new project to your computer. This will bring up a window that lets you enter a URL (in github desktop, this is the third "tab"). Paste the URL you just copied and choose where you want this repository to live on your computer.
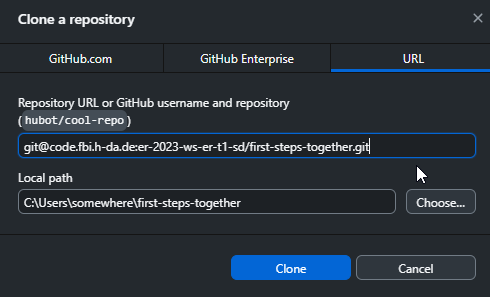
Then, hit Clone.
In case of a password-prompt#
After completing these steps, you may be asked for a username and password. You should be able to use the short form of your student ID (st______) and your regular single-sign-on password.
This box contains more complicated instructions for reference. You can skip it.
Cloning a Repository to Your Machine for the First Time with personal access token#
After completing these steps, you may be asked for a username and password. This is a little tricky, because in our setup, you do not have a password for Gitlab. Gitlab itself actually does not know your student ID password. That is why we need an extra step here: The Personal Access Token. That's a fancy name for something that is effectively a replacement for your password for a single use case.
Step 1: Go to Gitlab Preferences#
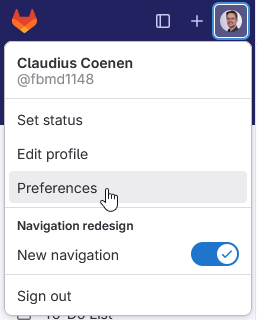
You can access the gitlab preferences on any page by clicking your user icon in the main menu.
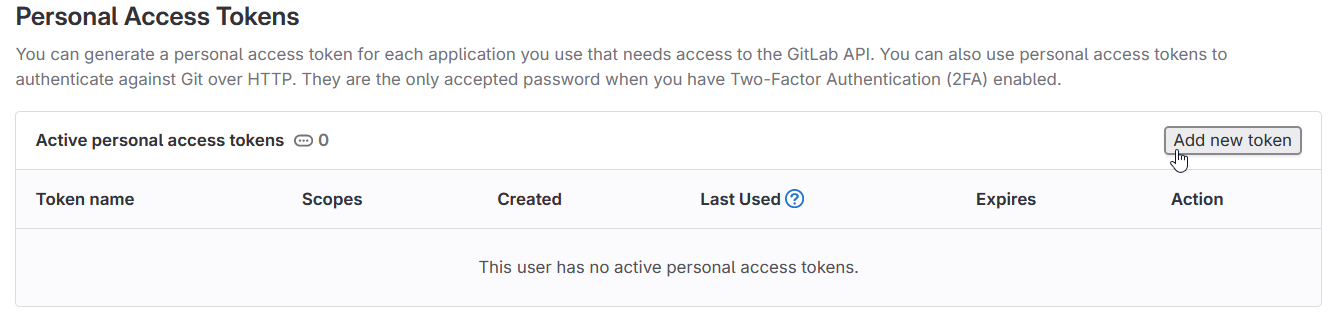
Step 2: Go to Access Tokens#
Use the "Access Tokens" menu point.

This will bring up a list of access tokens (you can have as many tokens as you need, for example for different computers!). Please click "Add new token".
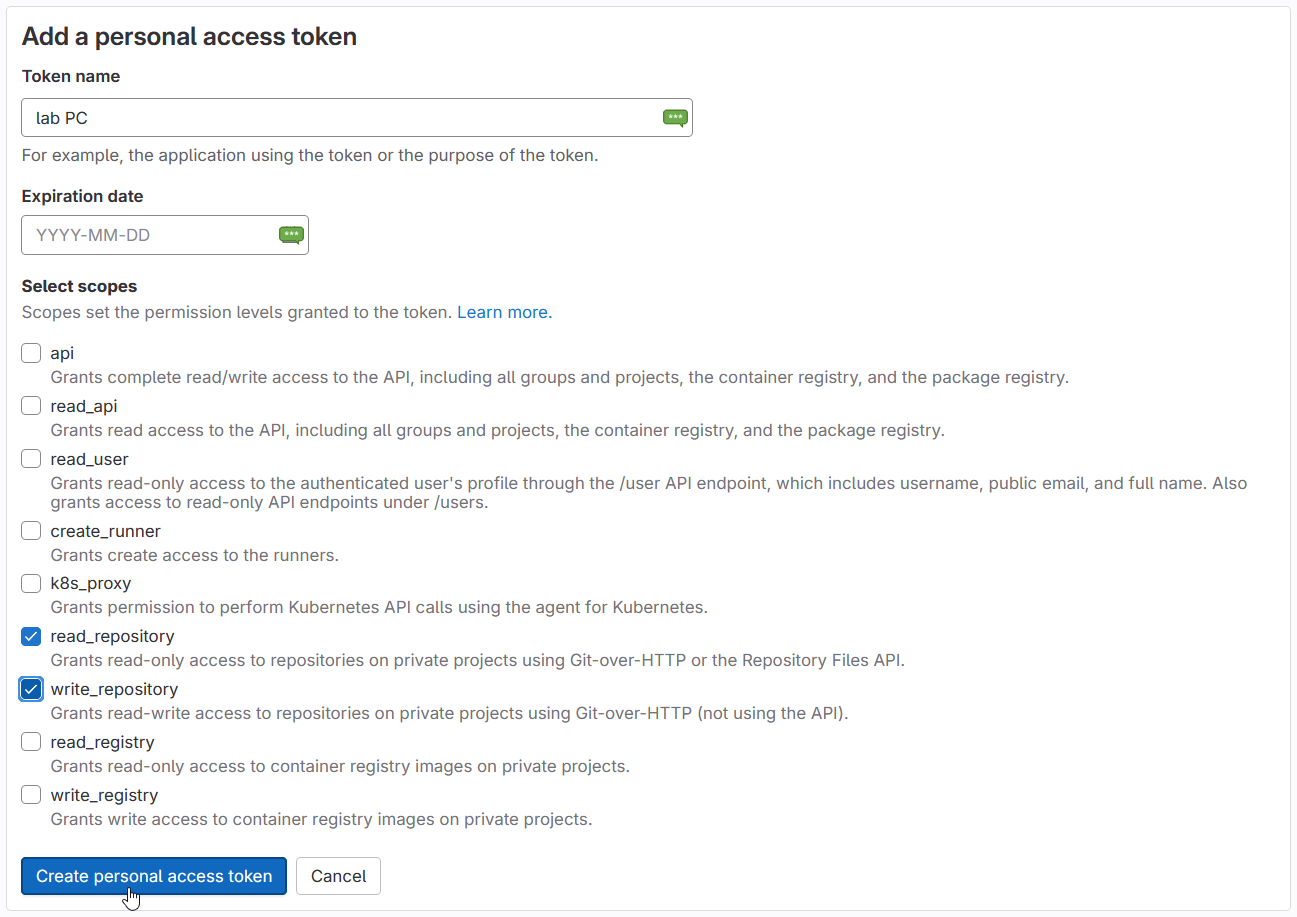
You don't need to touch most of these settings (and if you get them wrong, you can just delete the token and create a new one, it's no big deal!). I would suggest adding a name you will understand. This is just used in the list of access tokens, so that you can recognize what a token was for. You can also optionally set an expiry date. On my personal laptop, I do not use this. On a lab PC this might be a good idea. This way, the token expires automatically if you forget to log out.
One important part you will need to change is the things you want this token to be able to do. You need at least read_repository and write_repository - which are the actions we need for cloning, pulling and pushing.
Step 3: Create that Token and use it immediately#
This token will only be displayed on the next page. (Again, you can always create new ones, so don't feel stressed!)

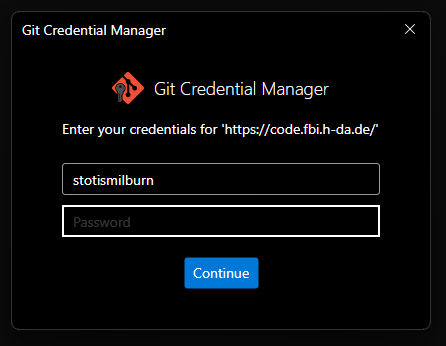
You now have both things that you need! Use your regular short student id st..... as user name and then the Personal Access Token as a password and put it into this window:
Your project should now successfully clone to your computer in the location you chose earlier. Every subsequent action in that repository should just work. Worst case, it might ask you for a password again.
Start working#
These are now regular standard files on your hard drive. Git / Github Desktop / Gitlab or any of the other tools don't care about how you get your work done. They just provide and synchronize and back up those files. Take a look at the new files in your Windows Explorer or MacOS Finder. Open the files in any application you want, Processing, text editors, your favorite IDE - that's all up to you!
Assignment: Clone the Repository and go through configuration once
Please clone the "first steps together" repository to your machine. This repository contains a README.md file with further instructions.
If you have questions, don't hesitate to ask. This is an uncommon operation for most of you and we will need this later.